Slack App (Beta)
The CELITECH Slack App lets your team purchase, top up, and monitor eSIMs without leaving Slack. Admins connect the workspace once; everyone else can then issue and manage eSIMs from the App Home tab or with slash commands.
How It Works
The app gives your team two ways to do the same things, and two levels of access:
- Two surfaces — the Home tab (a visual dashboard) and slash commands (
/celitech …, usable from any channel or DM). Pick whichever is faster; both perform the same actions. - Two roles — members and admins.
The rule that ties them together: your role decides what you can do; the surface is just how you reach it. A member always acts on their own eSIMs. An admin can act on anyone's and manages the workspace.
Roles at a Glance
| Capability | Member | Admin |
|---|---|---|
| Purchase an eSIM for yourself | ✅ | ✅ |
| Purchase an eSIM for another teammate | — | ✅ |
| Top up or edit your own eSIMs | ✅ | ✅ |
| Top up or edit anyone's eSIMs | — | ✅ |
| View your own eSIMs and usage | ✅ | ✅ |
| View all workspace purchases and analytics | — | ✅ |
| Manage admins | — | ✅ |
| Configure branding (network / email) | — | ✅ |
| Connect or disconnect the CELITECH account | — | ✅ |
Setting Up (Admins)
Connecting a workspace is a one-time admin task. Once it's done, every member can start using the app immediately.
Install the App
1. Add the app to your workspace. Click the button below and pick the workspace to install it in.
2. Grant permissions. Review the requested permissions and click Allow.
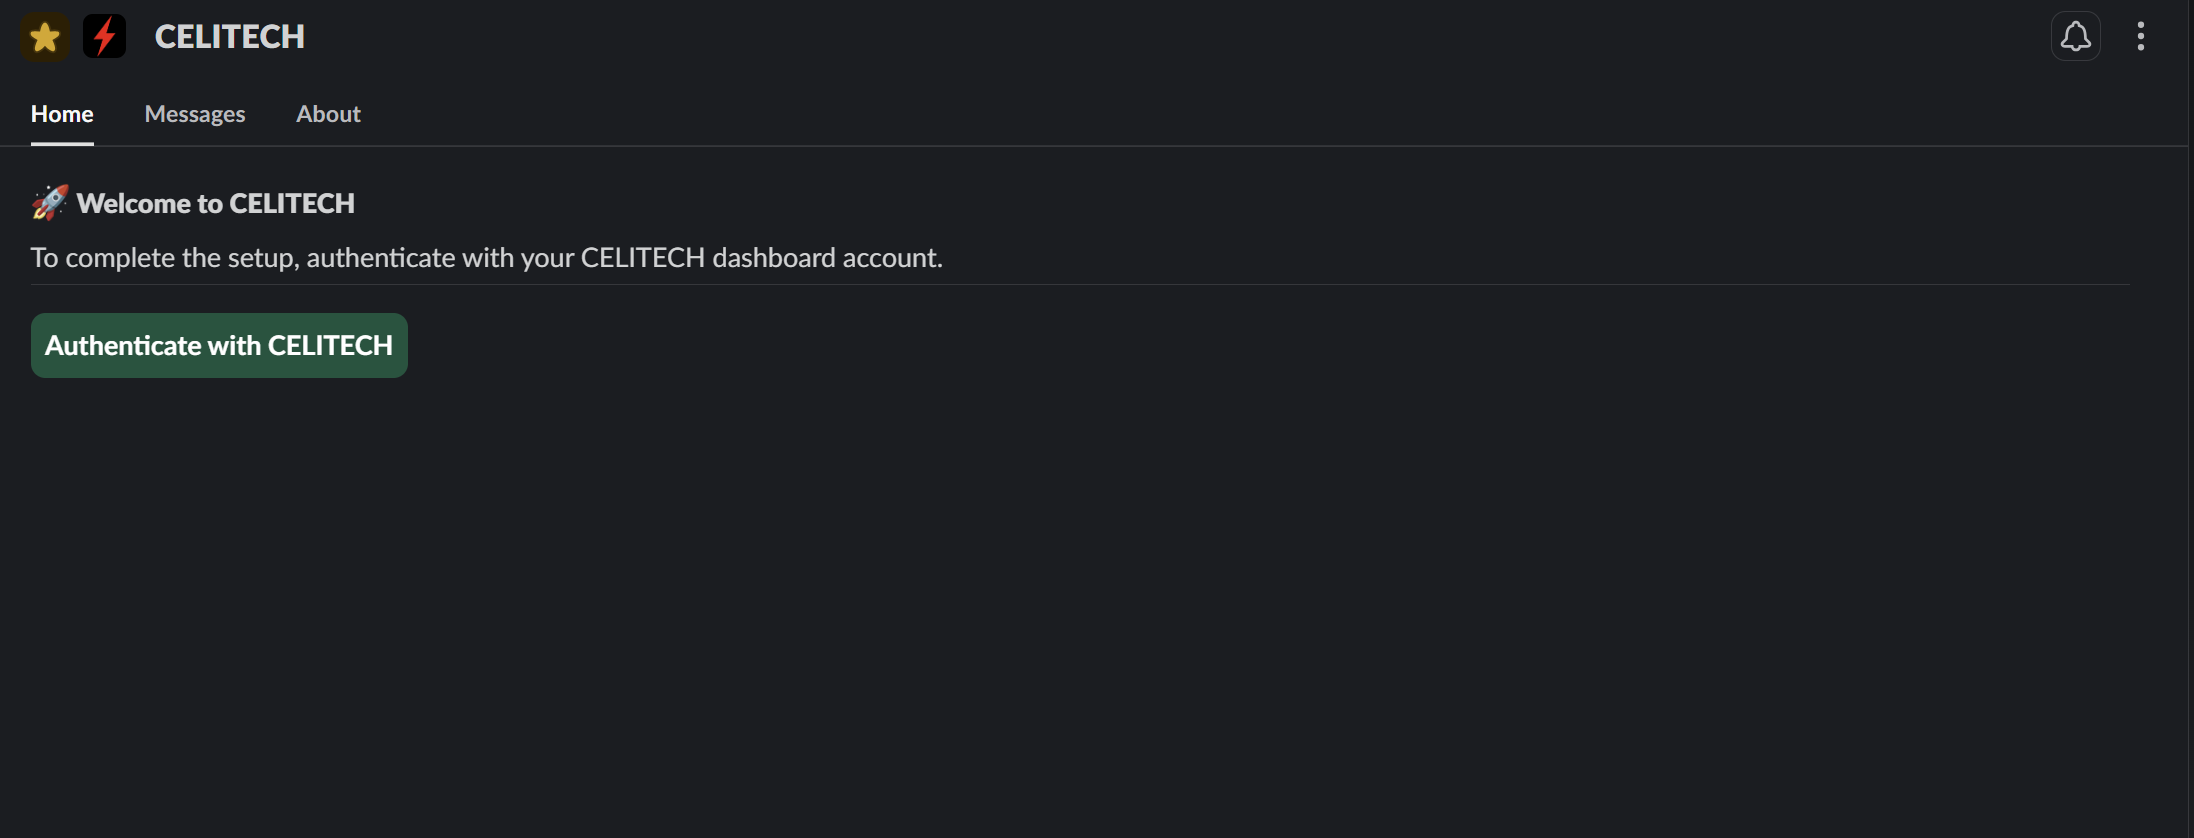
3. Open the Home tab. In your Slack sidebar, open CELITECH under Apps, then select the Home tab.
Connect Your CELITECH Account
Linking happens through your CELITECH Dashboard — there's no Client ID to copy or paste. Your identity and admin rights are verified by the dashboard, so only a signed-in CELITECH administrator can connect a workspace.
1. Start the connection. On your first visit to the Home tab, click Authenticate with CELITECH to open the connection page in your browser.
2. Authorize. Sign in to your CELITECH Dashboard if prompted, review the access the app will be granted, and click Authorize. If you administer more than one CELITECH account, you'll first choose which one to connect.
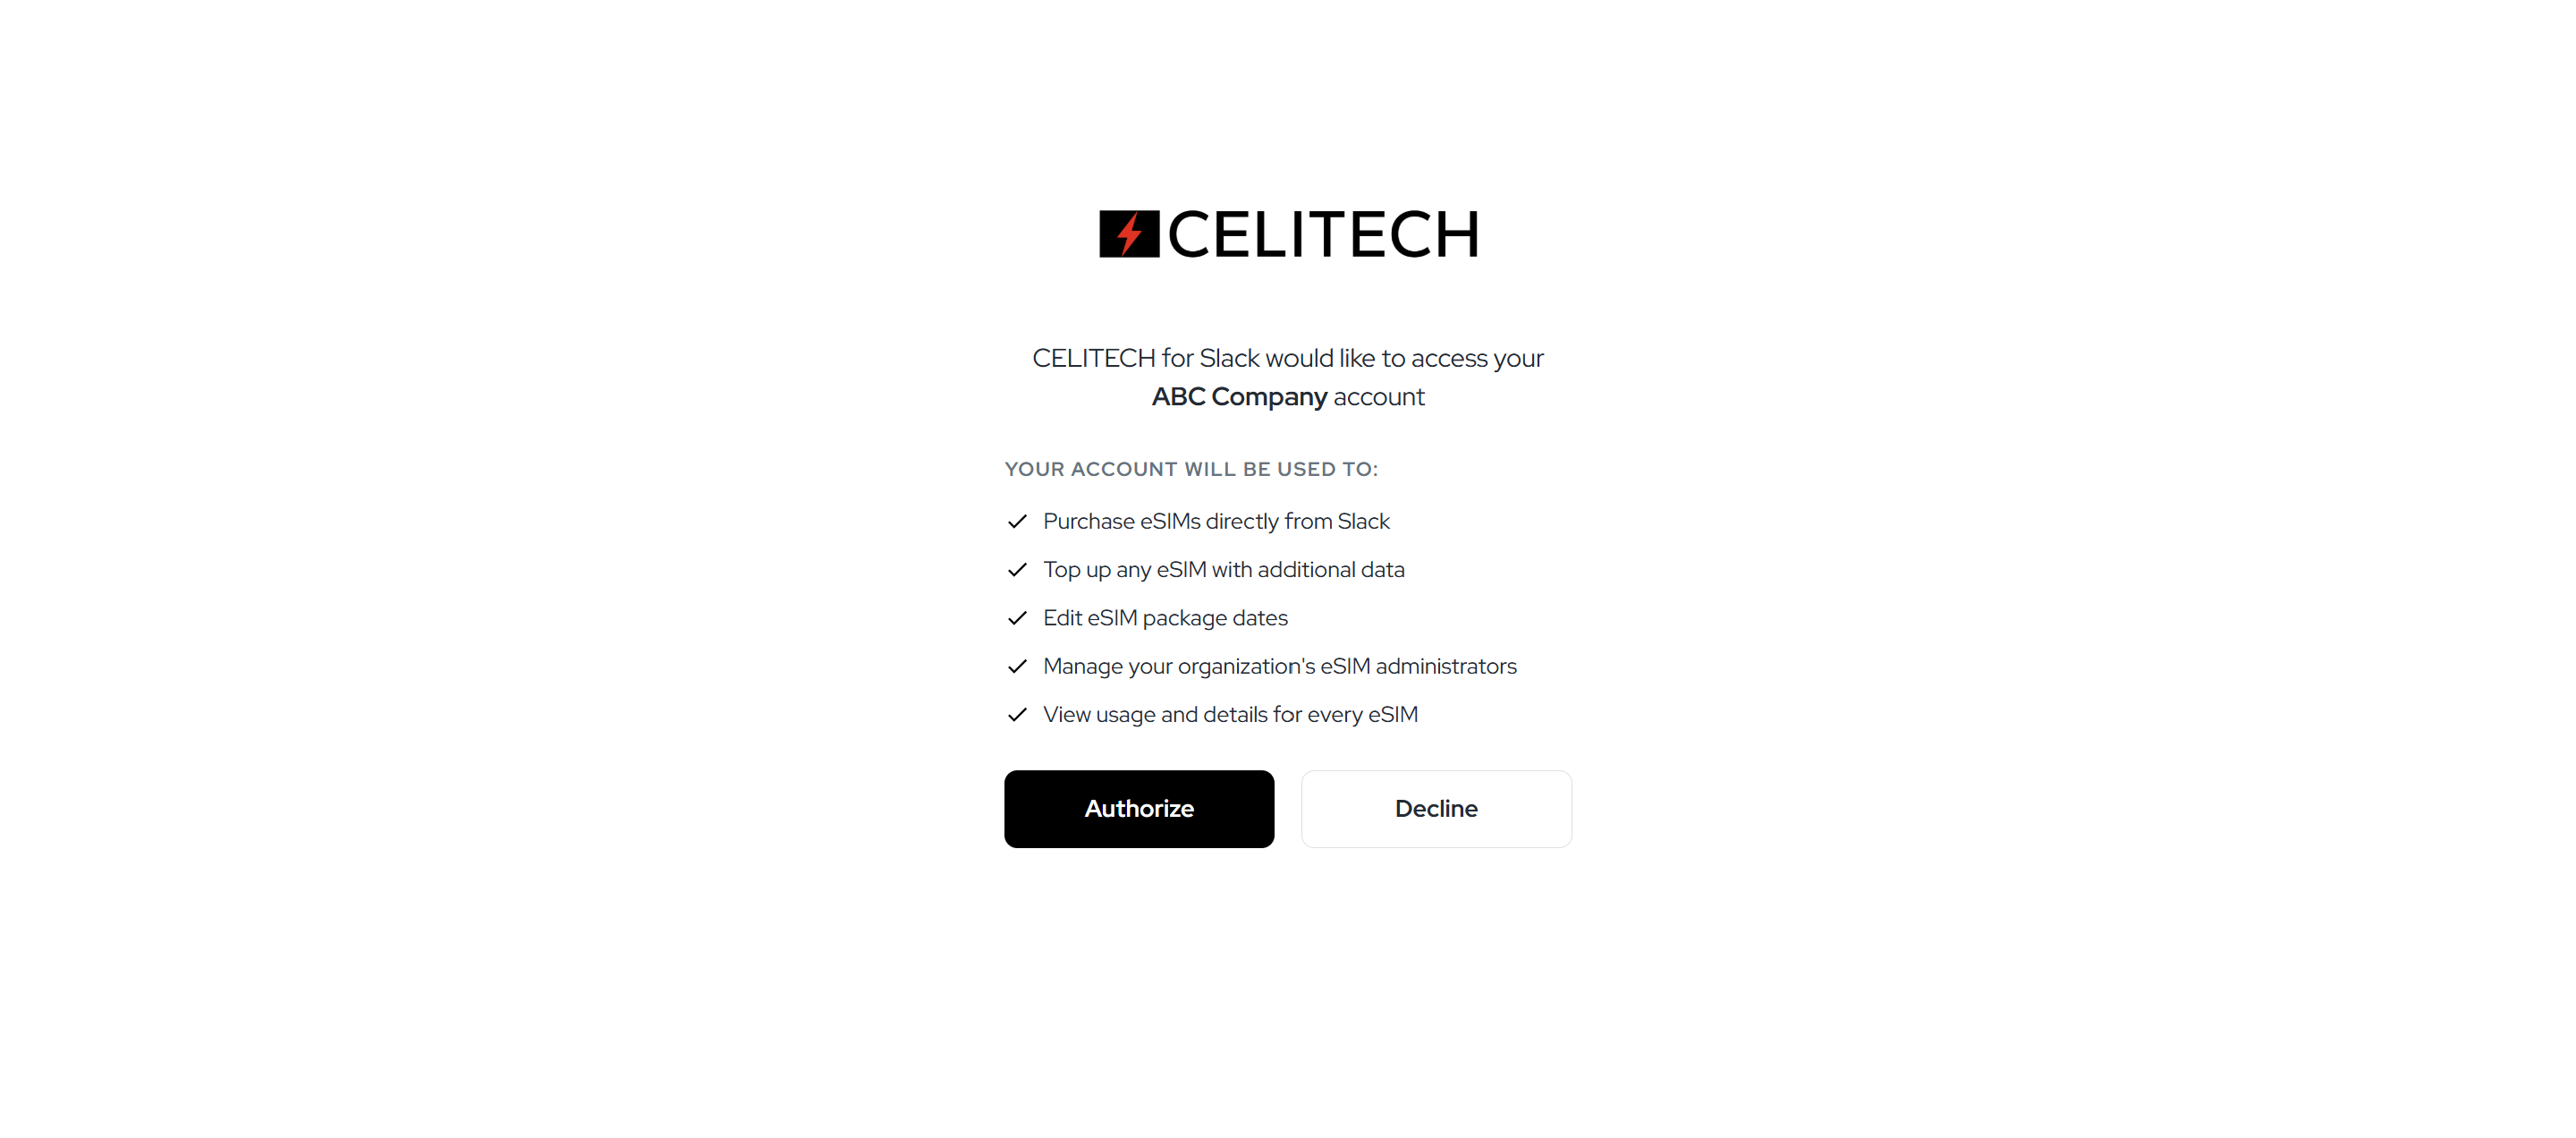
Only users with admin access to a CELITECH account can connect it to Slack. If you don't have admin access, you'll be asked to contact your CELITECH account's admin.
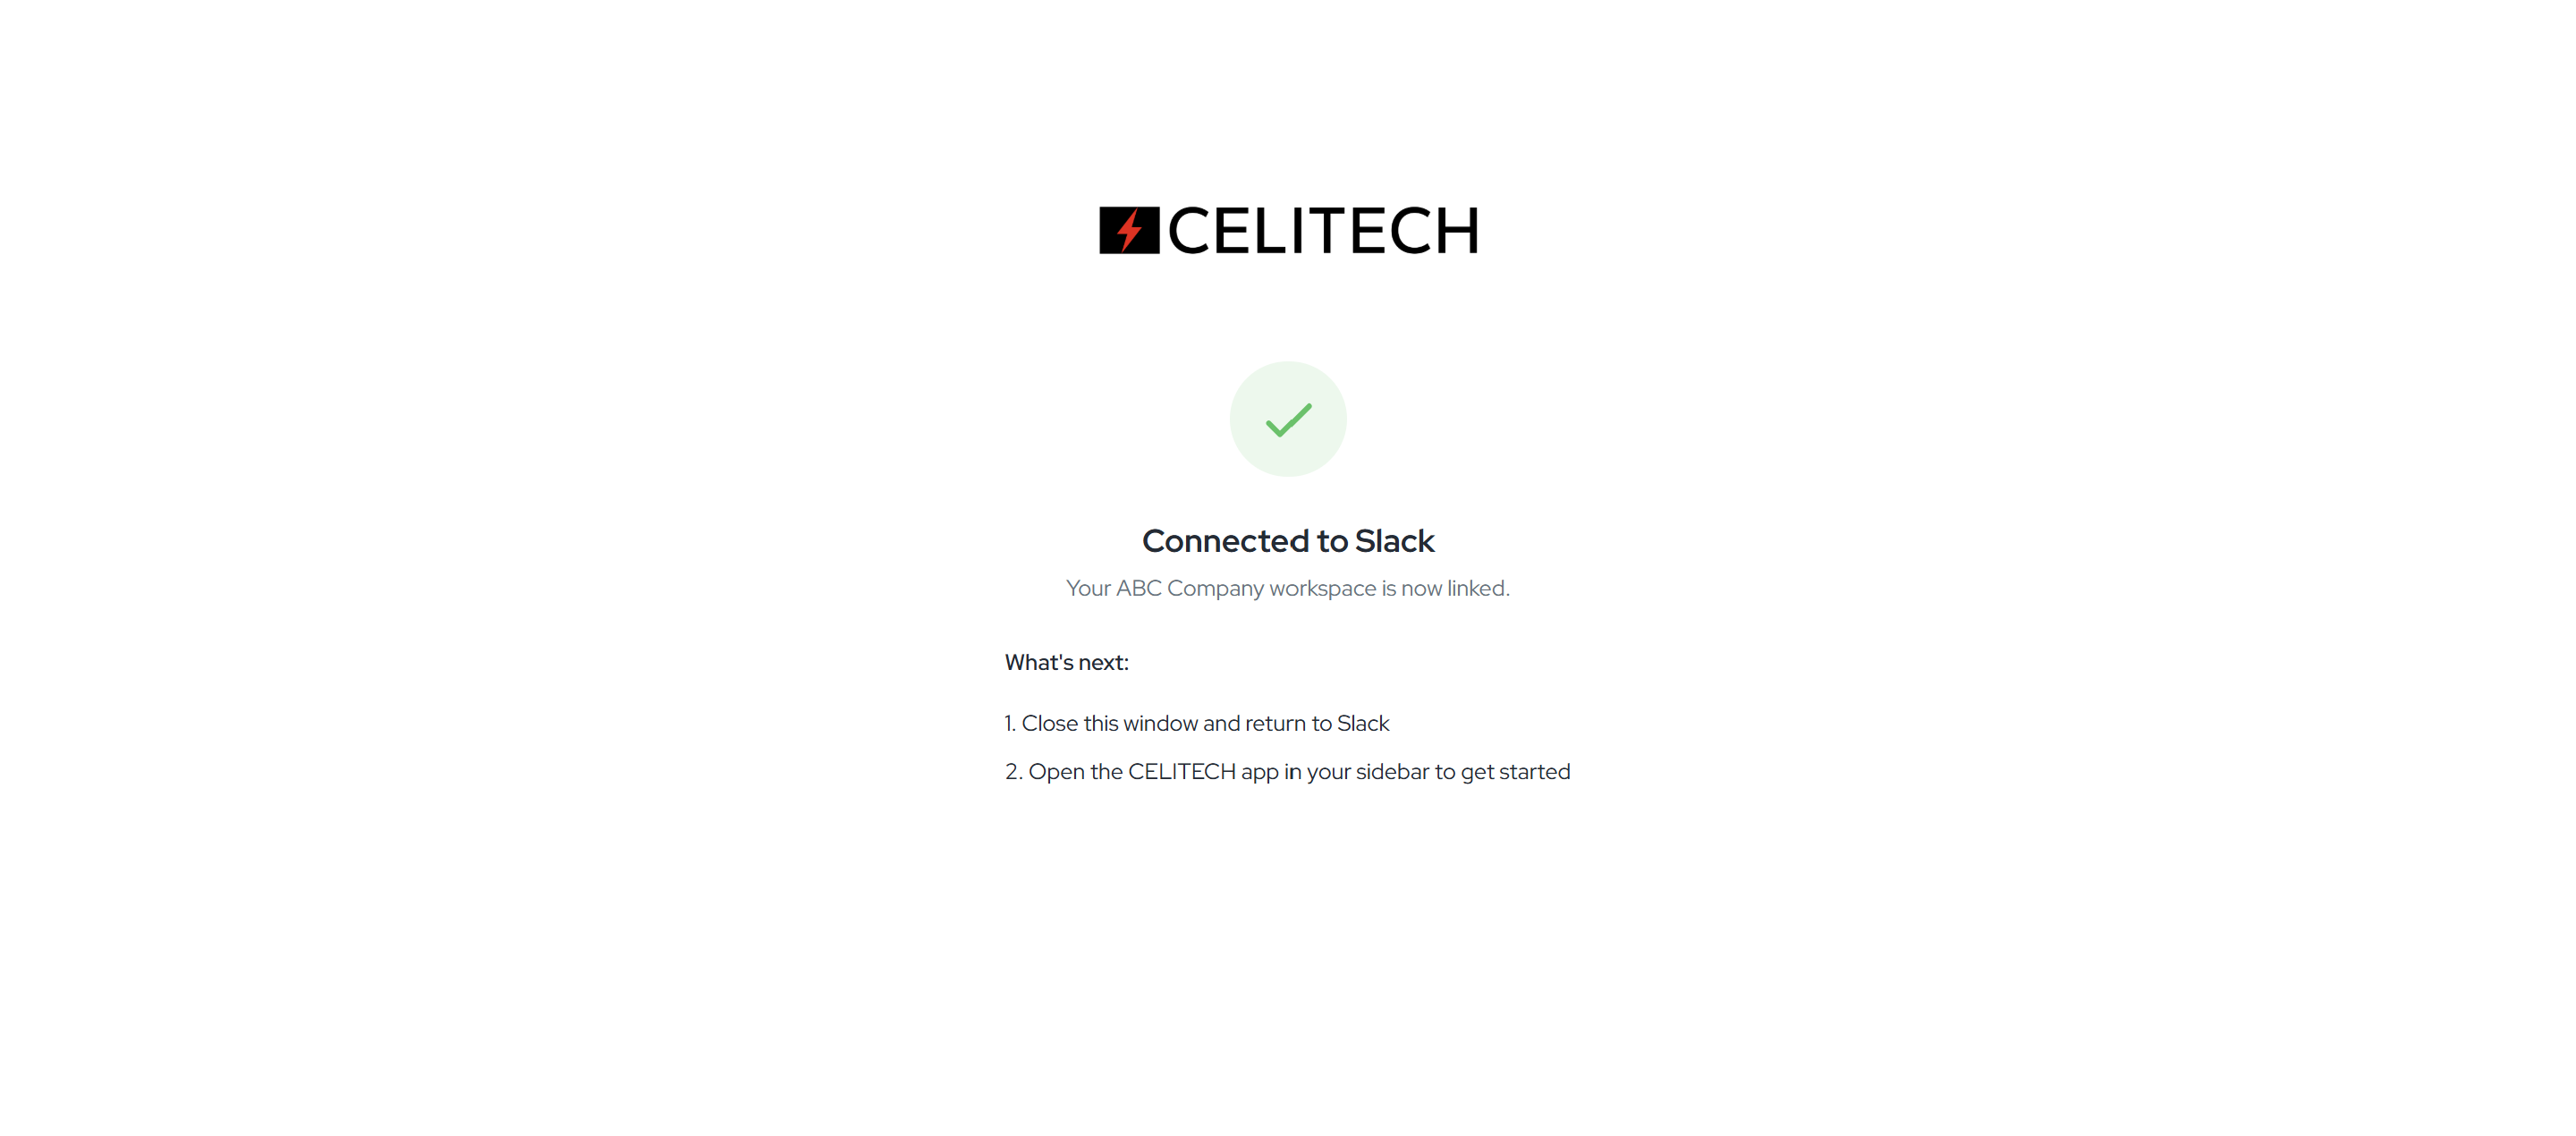
3. Done. The dashboard confirms the connection — close the window and return to Slack. Your Slack workspace is now linked to your CELITECH account, you have admin access, and you'll receive a confirmation DM. Open the Home tab to get started.
Everyday Use
These actions are available to everyone. Members act on their own eSIMs; admins can act on anyone's. Use the Home tab or a slash command — the result is identical.
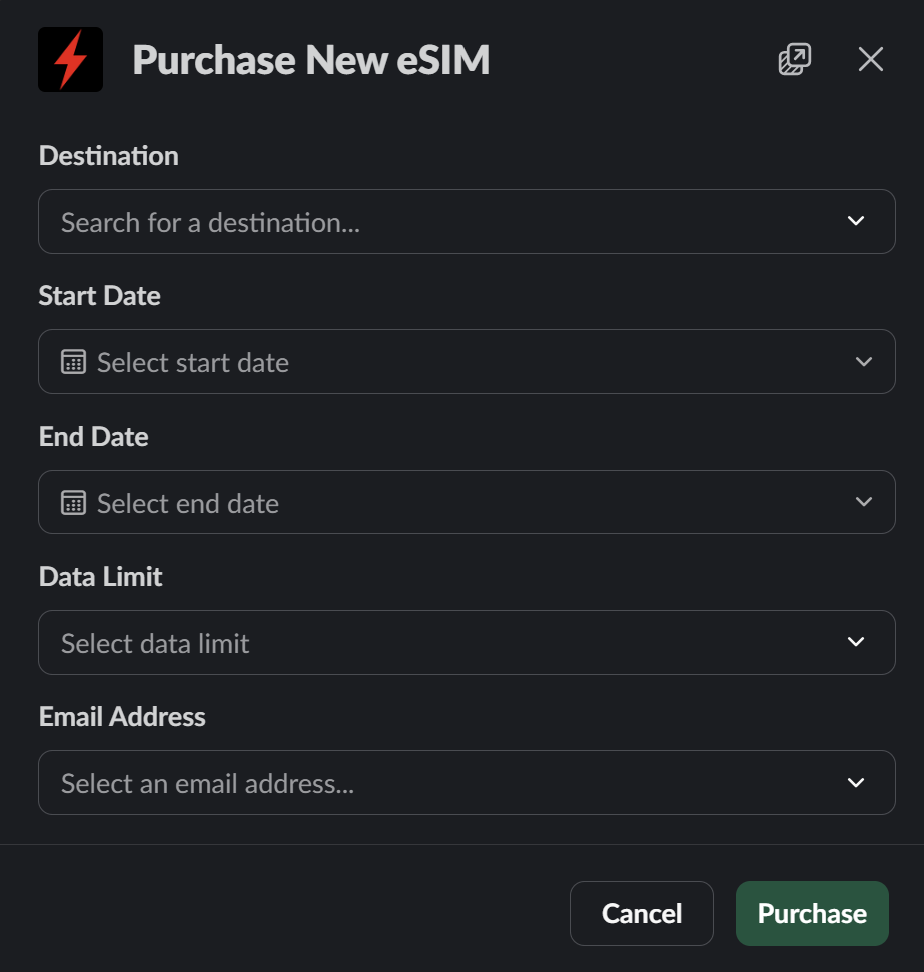
Purchase an eSIM
Where: Home tab → Purchase New eSIM, or /celitech purchase
Fill in the destination (type at least 2 characters), start and end dates, and data limit (1 GB–50 GB).
- Members receive the eSIM themselves — there's no recipient field to fill in.
- Admins also choose which workspace member receives it.
Click Purchase. The eSIM is provisioned, appears in purchase history, and the recipient gets activation details by email.
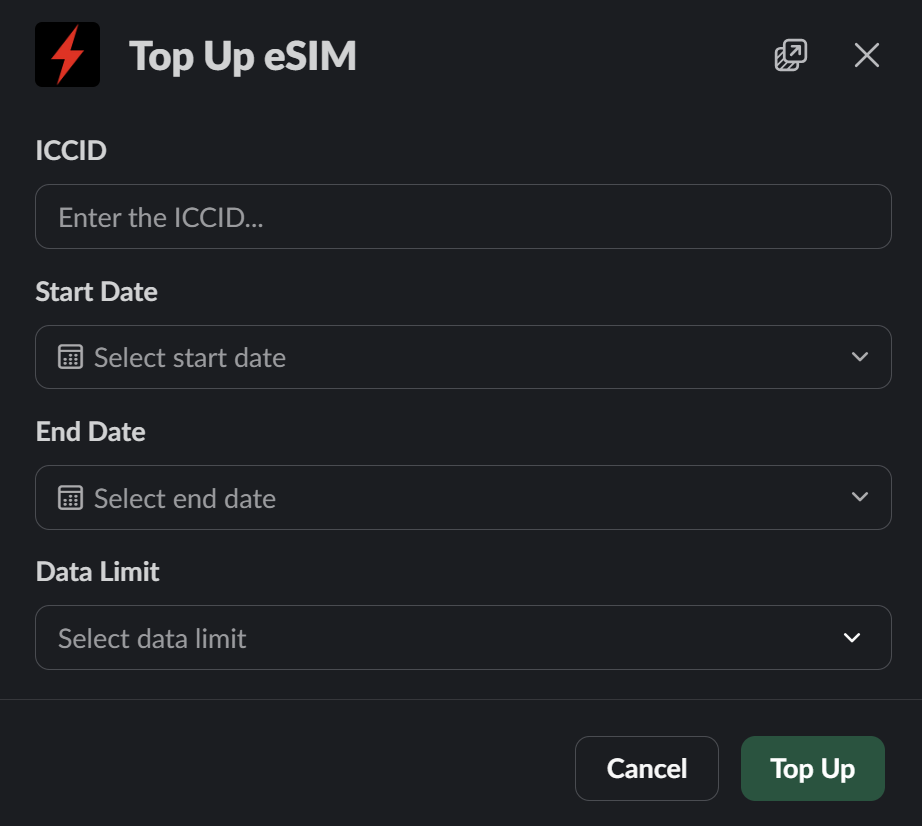
Top Up an eSIM
Where: Home tab → Top Up next to an eSIM, or /celitech topup
Add more data to an existing eSIM. From the Home tab the eSIM is preselected; with the slash command you enter its ICCID. Choose the start date, end date, and data limit, then click Top Up.
Members can top up only their own eSIMs; admins can top up any eSIM in the workspace.
Edit an eSIM Package
Where: /celitech edit
Change the active period of an existing purchase. Enter the Purchase ID, the new Start Date and End Date, then click Save Changes. You'll find the Purchase ID in an eSIM's View Details (Home tab).
Members can edit only their own purchases; admins can edit any. Editing is available from slash commands only.
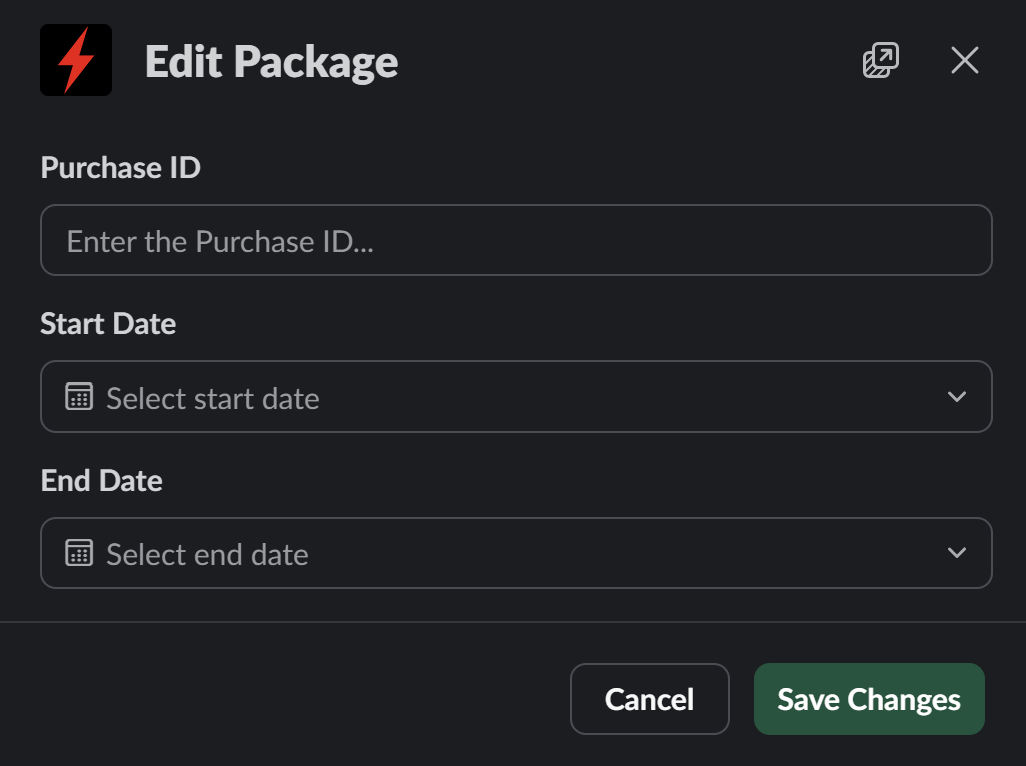
Not every purchase can be edited. An active purchase can't have its start date changed, and an expired purchase can't be rescheduled.
View eSIM Details
Click View Details next to any eSIM (Home tab) to see:
- Purchase ID — the identifier you enter to edit the package (see Edit an eSIM Package)
- ICCID — the eSIM's unique identifier
- Destination — the country or region it covers
- Data Limit — total package size (or Unlimited)
- Start Date / End Date — the active period
- Purchase Date — when it was bought
- Data Used — consumption against the total (e.g. 1.2 GB / 5 GB), with a progress bar
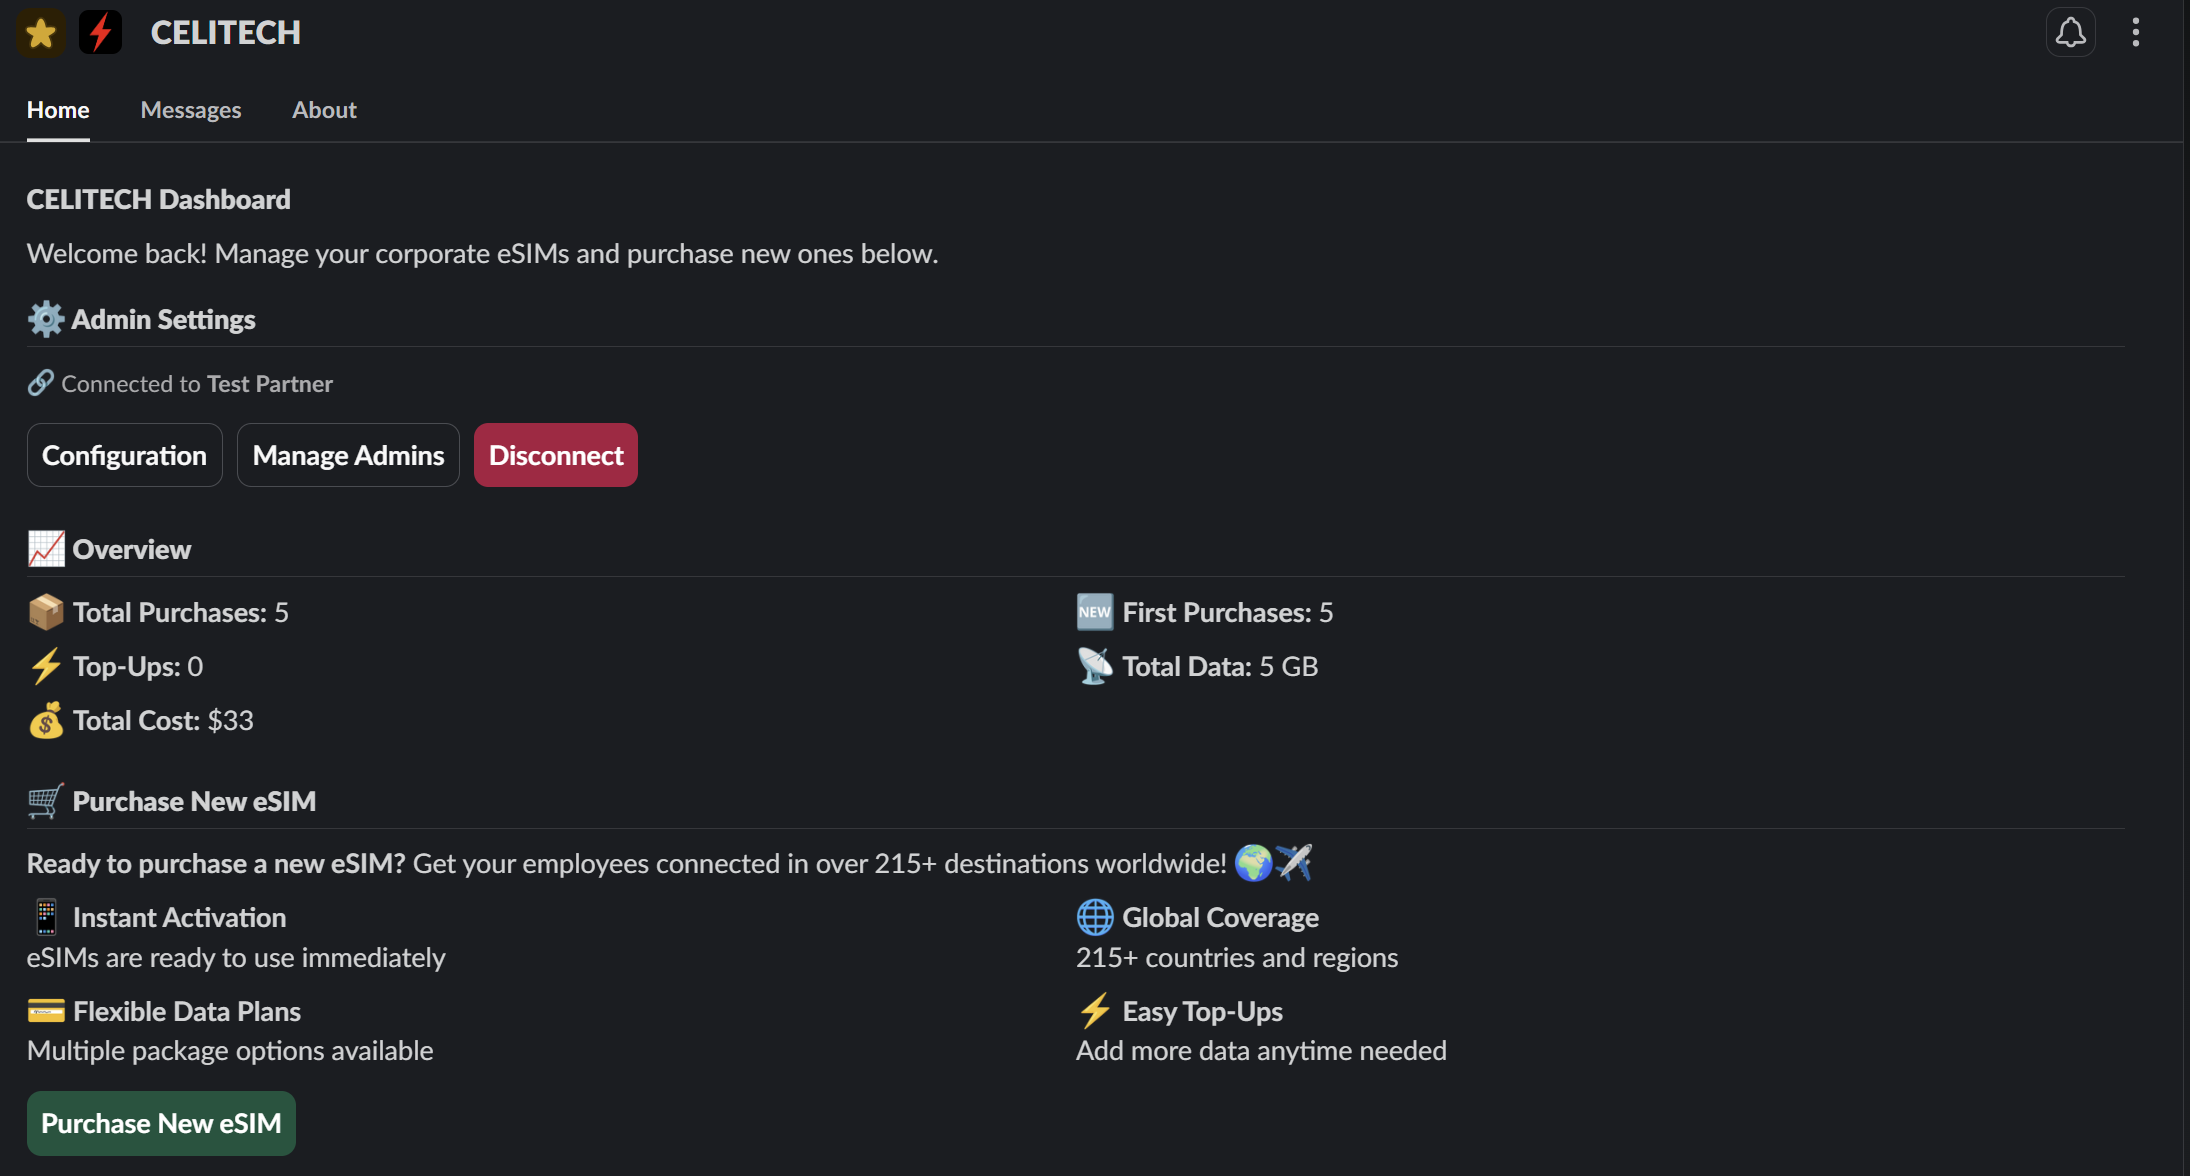
Members see their own eSIMs; admins see the whole workspace, with paginated purchase history and analytics (total purchases, top-ups, data used, and cost).
Admin Tasks
These live in the Admin Settings section of the Home tab and are available to admins only.
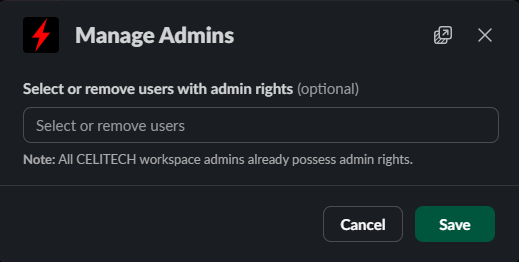
Manage Admins
Click Manage Admins, select users in the multi-select dropdown, and click Save. Newly added admins and removed admins each receive a Slack DM. (The user who connected the workspace is an admin automatically.)
Configure Branding
Click Configuration to set how eSIMs are branded:
- Network Brand — the network name shown on the eSIM
- Email Brand — the brand used in activation and notification emails
Update either field and click Save.
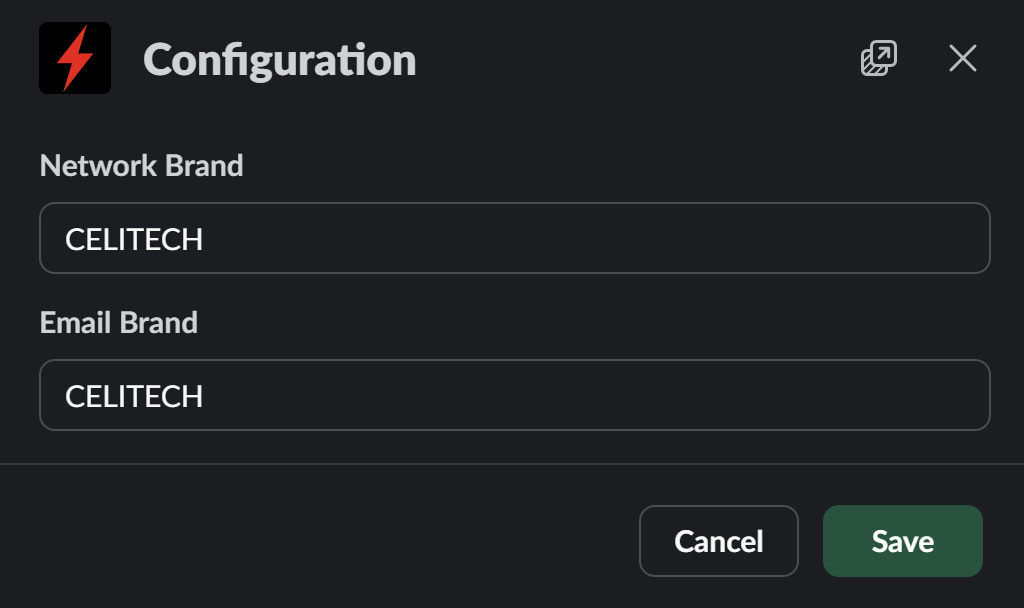
Network and email branding are available on the Platinum and Diamond tiers.
Disconnect the Account
Click Disconnect to unlink the workspace from its CELITECH account. Disconnecting:
- Unlinks the workspace from the CELITECH account
- Removes admin access for everyone in the workspace
- Leaves the app installed in Slack
The Home tab returns to the setup screen, and an admin can reconnect anytime via Authenticate with CELITECH.
Disconnecting is not the same as uninstalling. Disconnecting only breaks the link to your CELITECH account; the app stays in your workspace. Uninstalling removes the app from Slack entirely (see below).
Reference
Slash Commands
Usable from any channel or DM, by any member, without opening the Home tab.
| Command | Opens | Notes |
|---|---|---|
/celitech purchase | Purchase form | Members buy for themselves; admins pick a recipient |
/celitech topup | Top Up form | Enter the eSIM's ICCID; members can top up only their own |
/celitech edit | Edit Package form | Enter the Purchase ID; members can edit only their own |
Type /celitech and Slack shows the available subcommands in autocomplete.
Uninstalling the App
Uninstalling the app from Slack leaves your CELITECH account unaffected. To use the app again, reinstall it and reconnect your CELITECH account from the dashboard.