Zapier (Beta)
This guide will help you integrate CELITECH with Zapier to automate your eSIM workflows. By connecting CELITECH to thousands of other apps, you can streamline the process of issuing and managing eSIMs for your customers or employees without writing any code.
Getting Started
Step 1: Login to Zapier
Login to your Zapier account (or set up a new account) at https://zapier.com
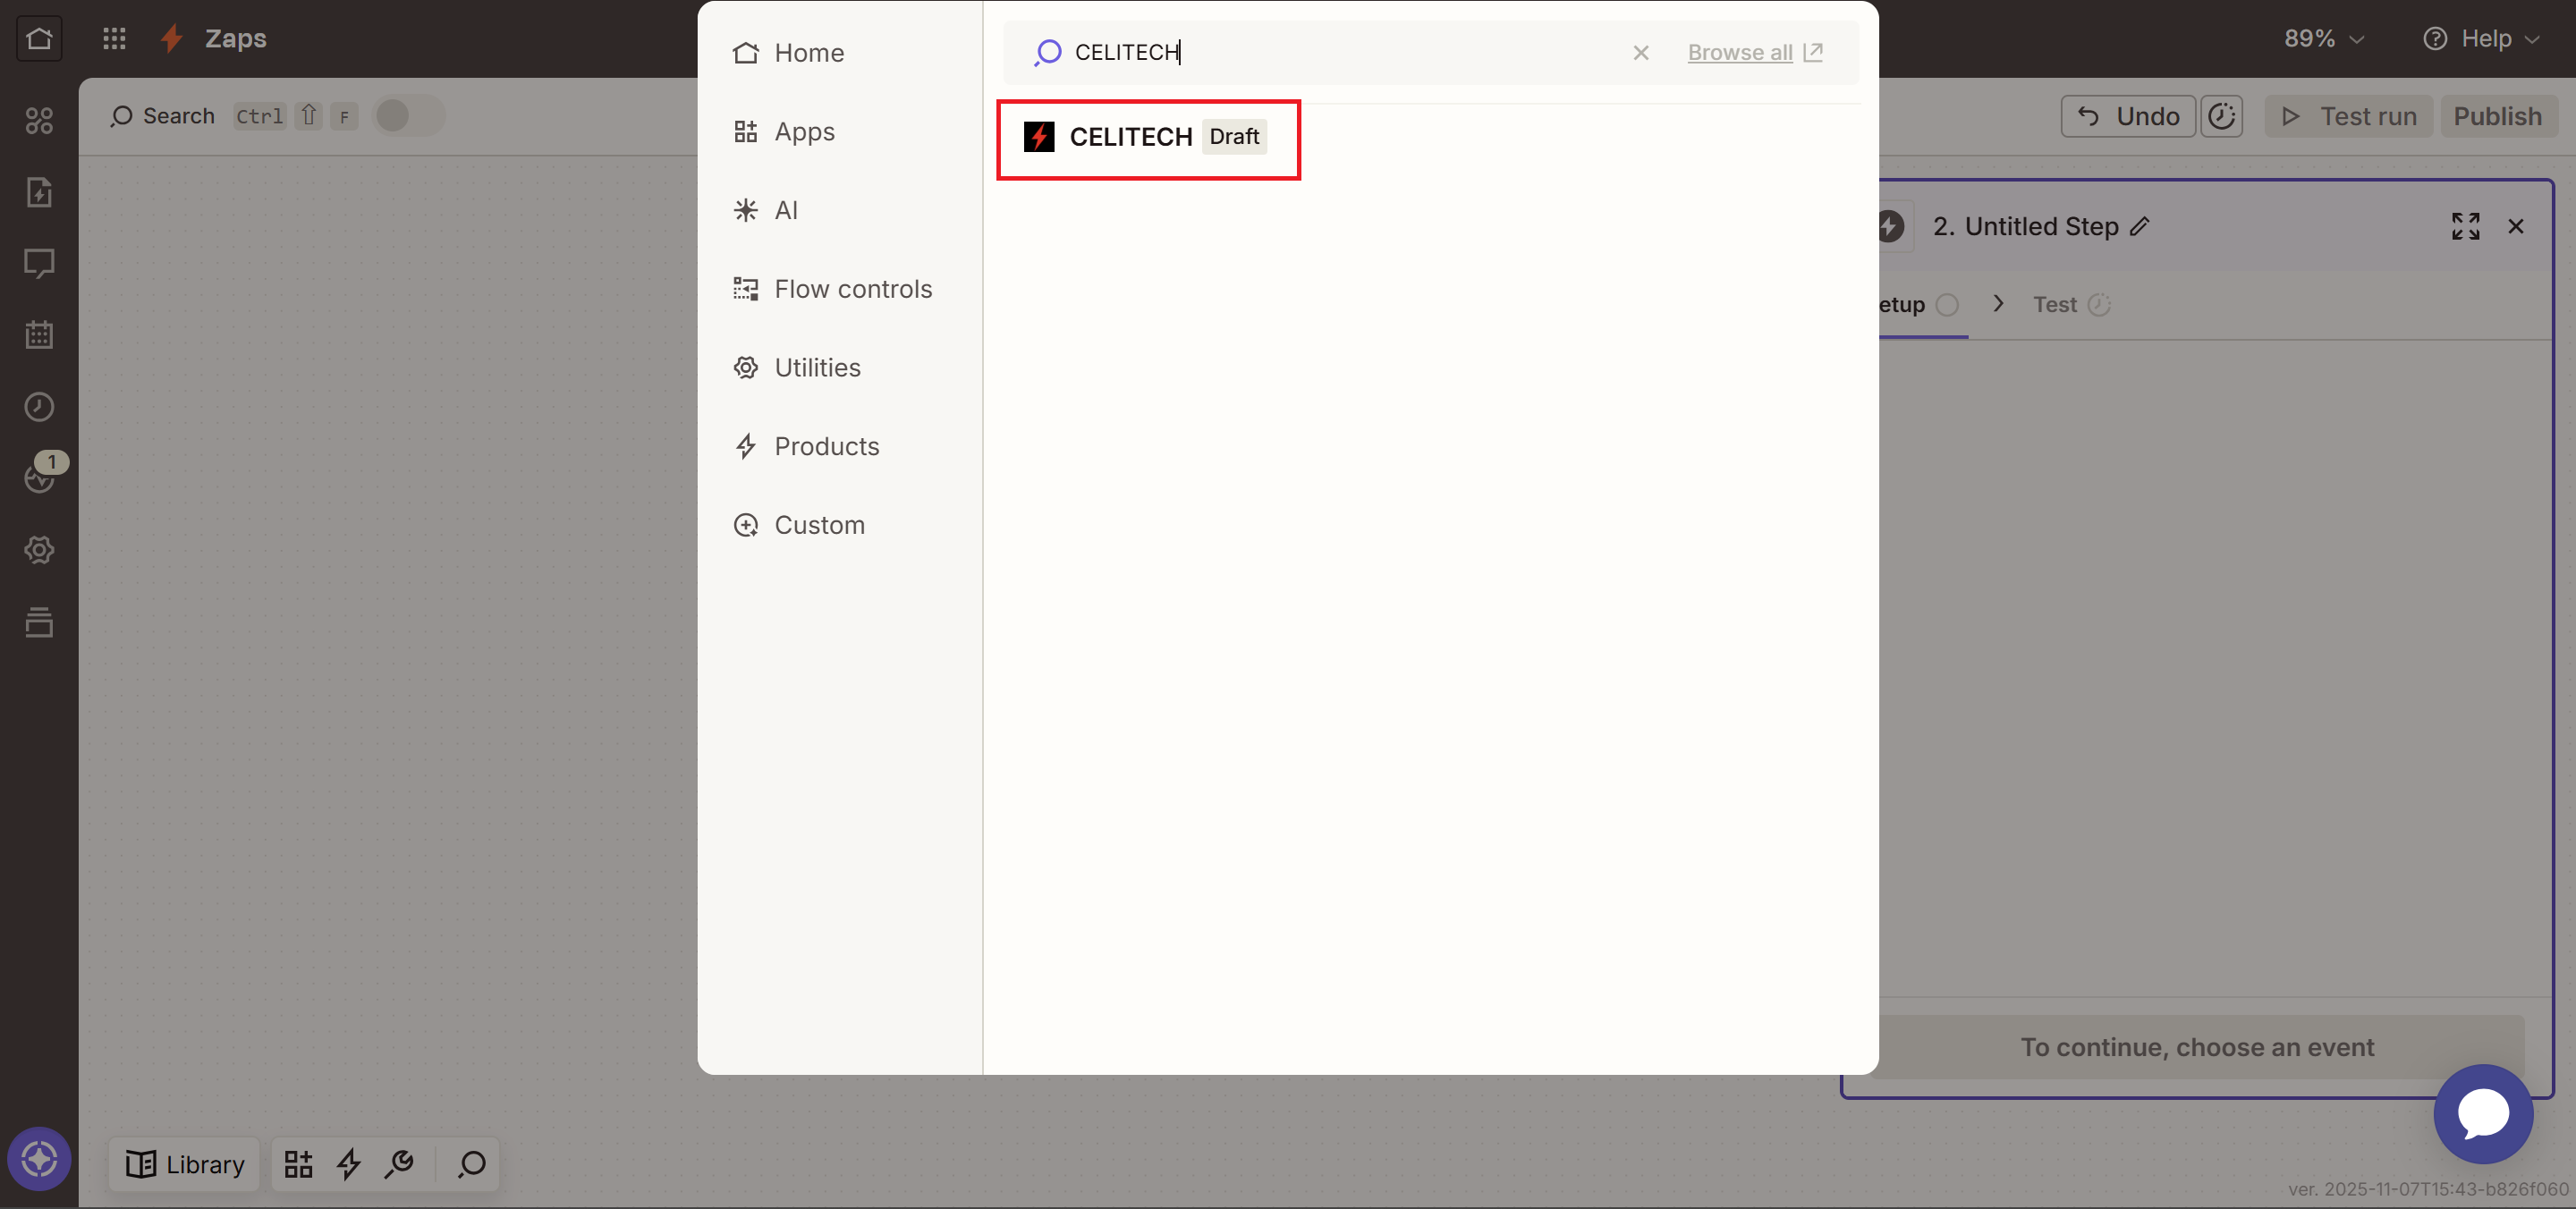
Step 2: Access CELITECH
You can access the CELITECH app directly from the Zapier marketplace at https://zapier.com/apps/celitech/integrations.
Step 3: Create a New Zap
- Navigate to your Zapier account home page
- Create a new Zap (or use an existing one)
- In this example, we're creating a simple Zap using Gmail trigger + CELITECH
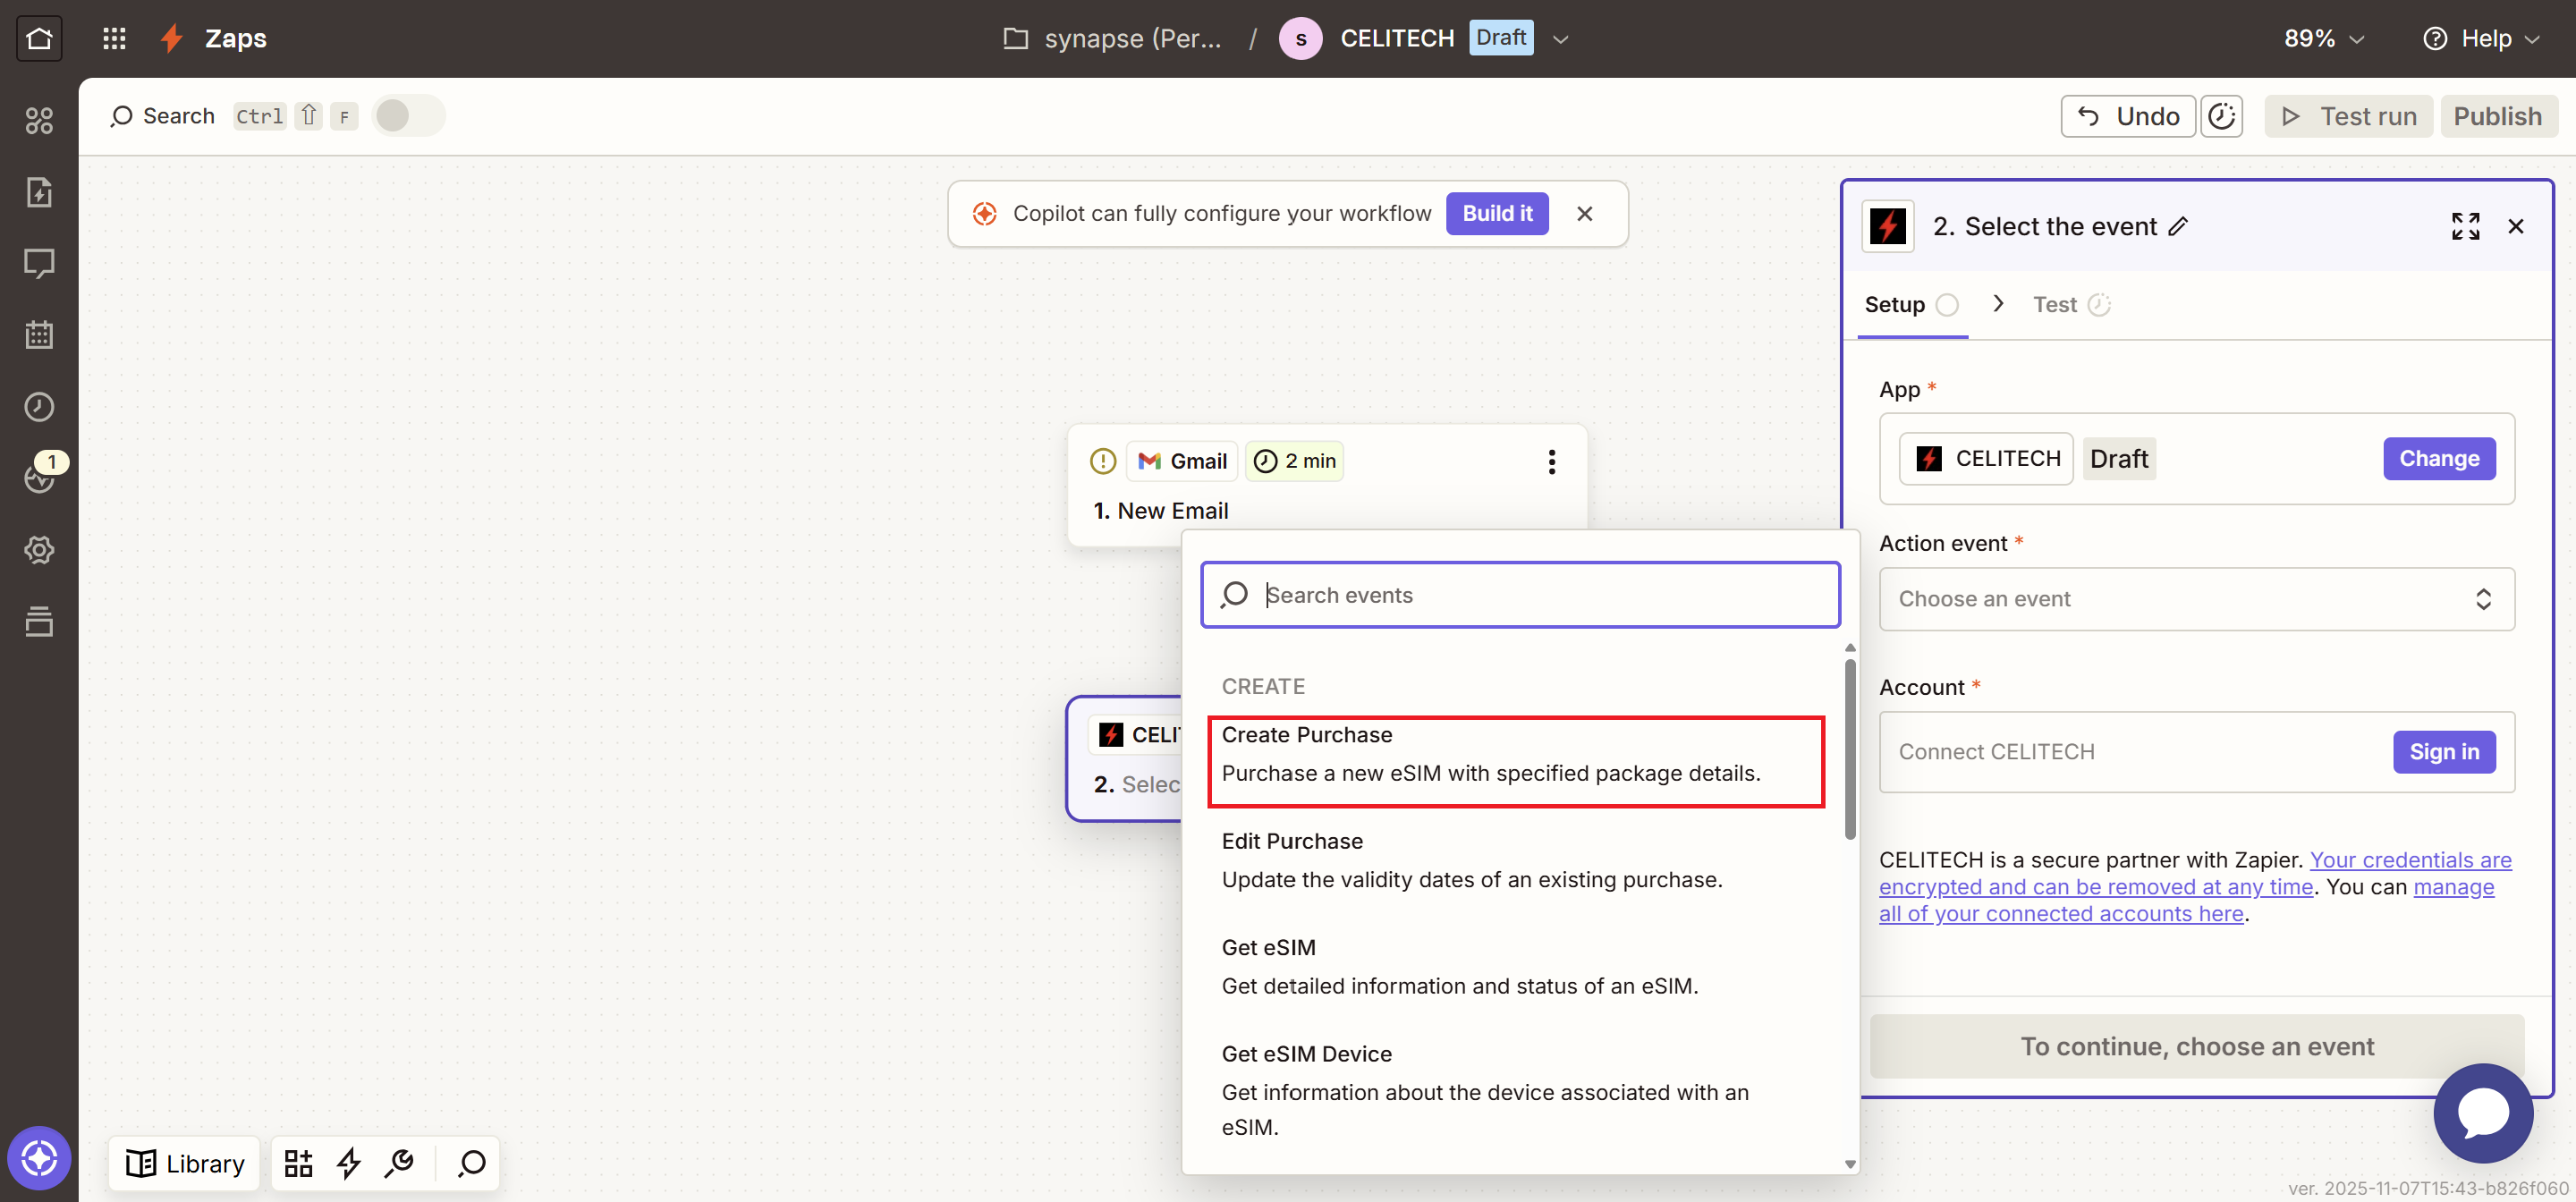
Step 4: Add CELITECH Action
- After setting up your trigger, click to add an action
- Search for and select CELITECH
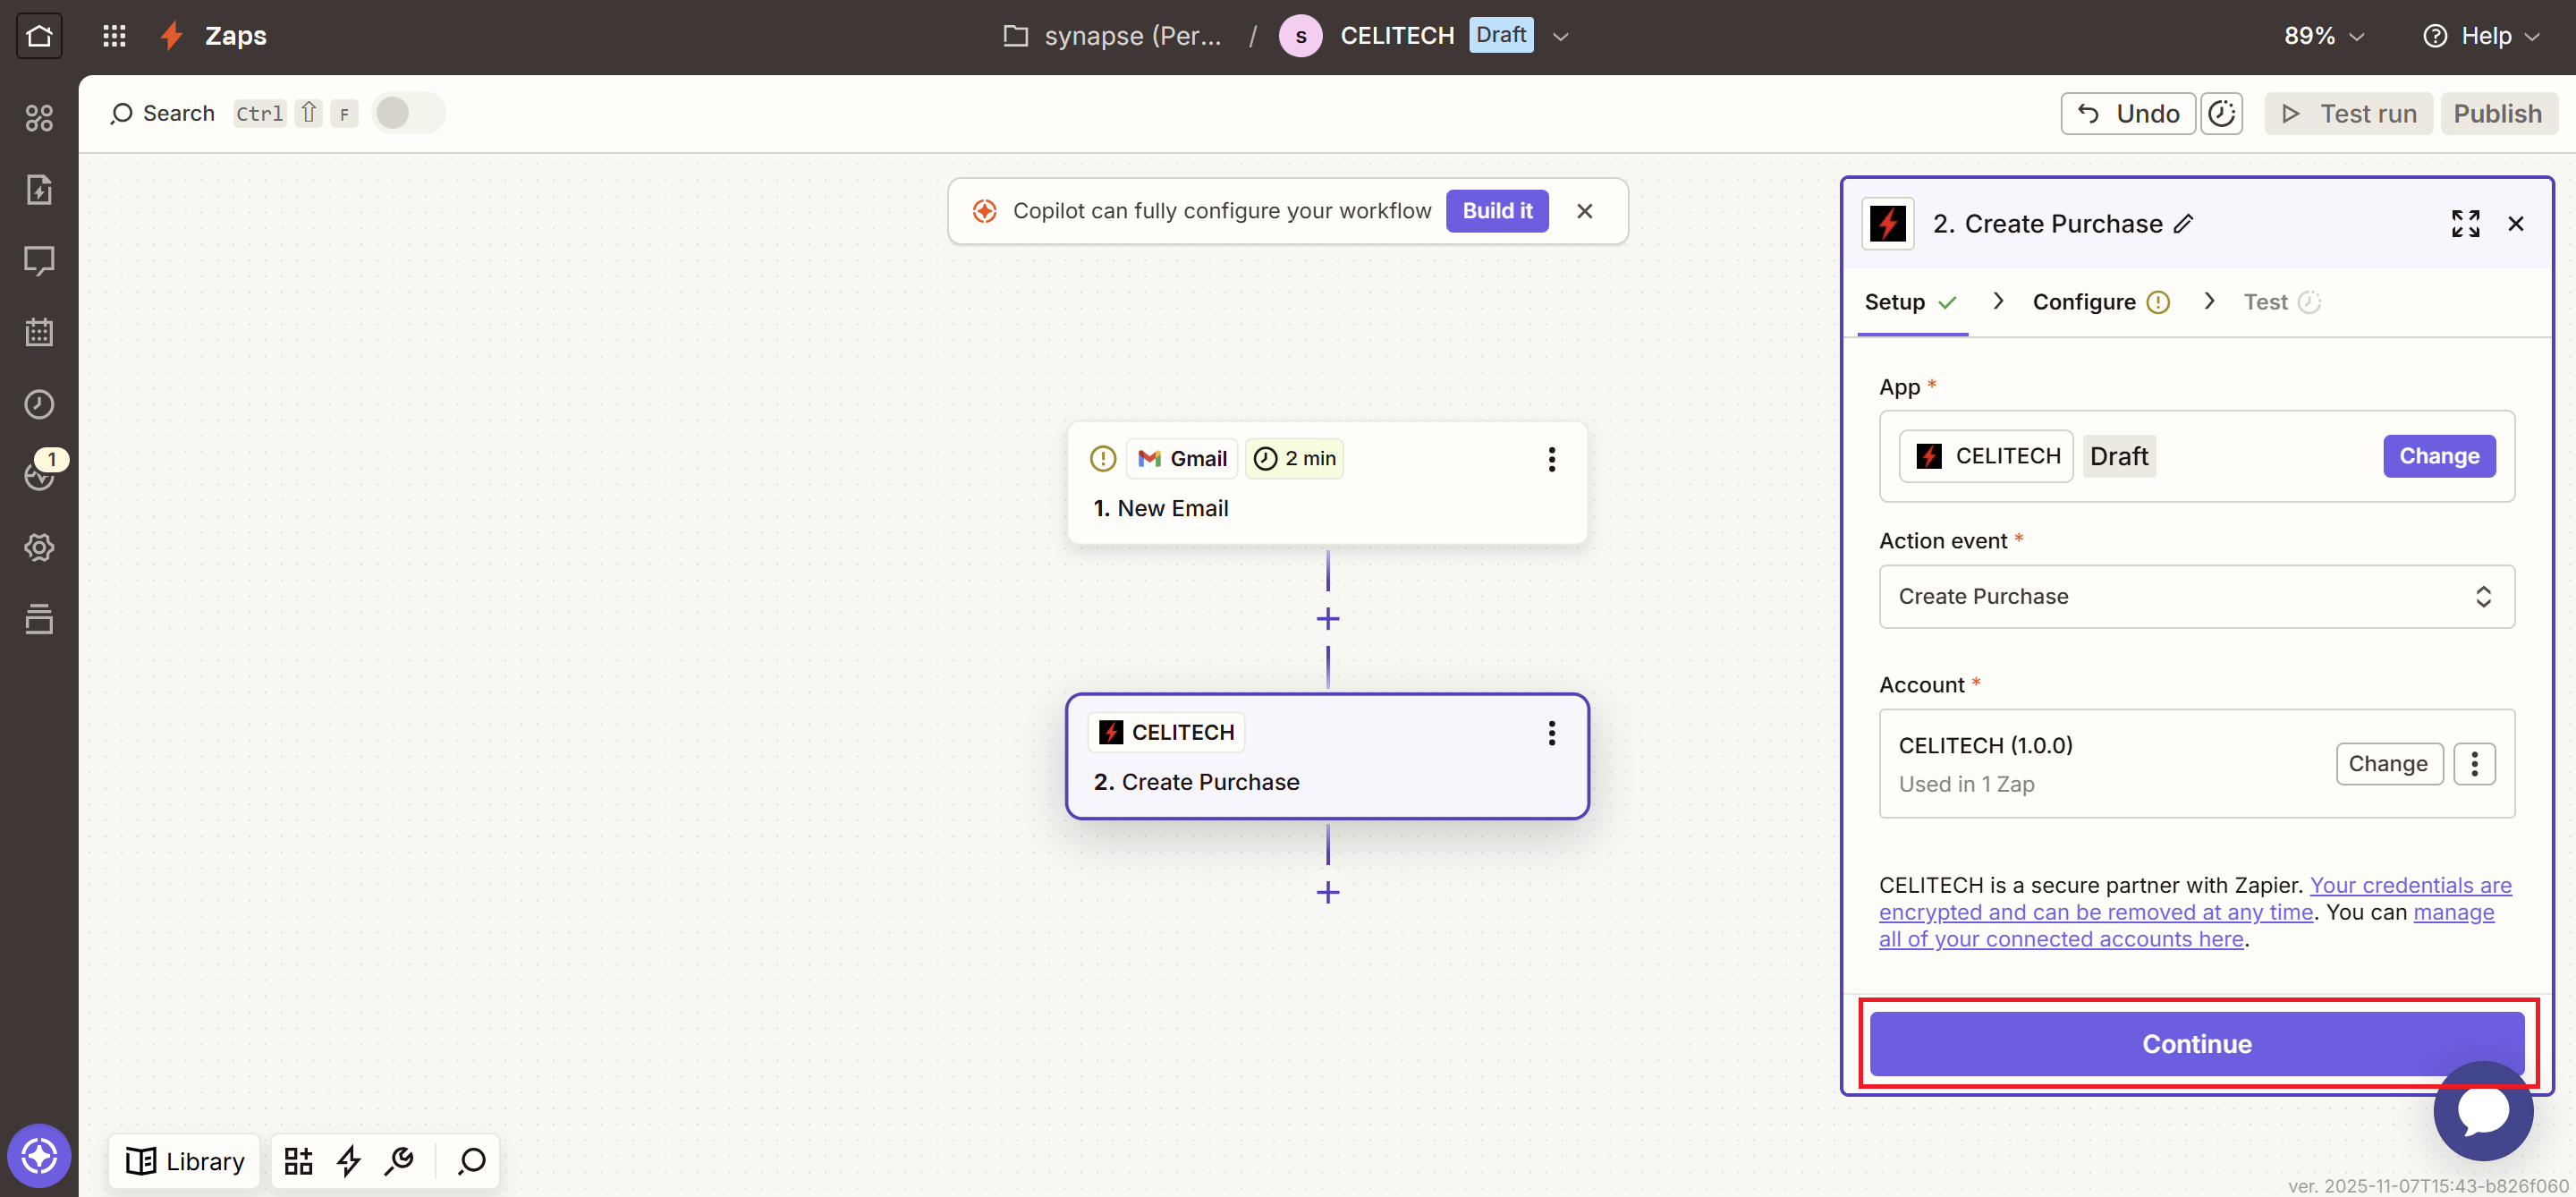
Step 5: Select CELITECH Event
- Click on the "Action event" dropdown
- Pick Create Purchase from the list of events
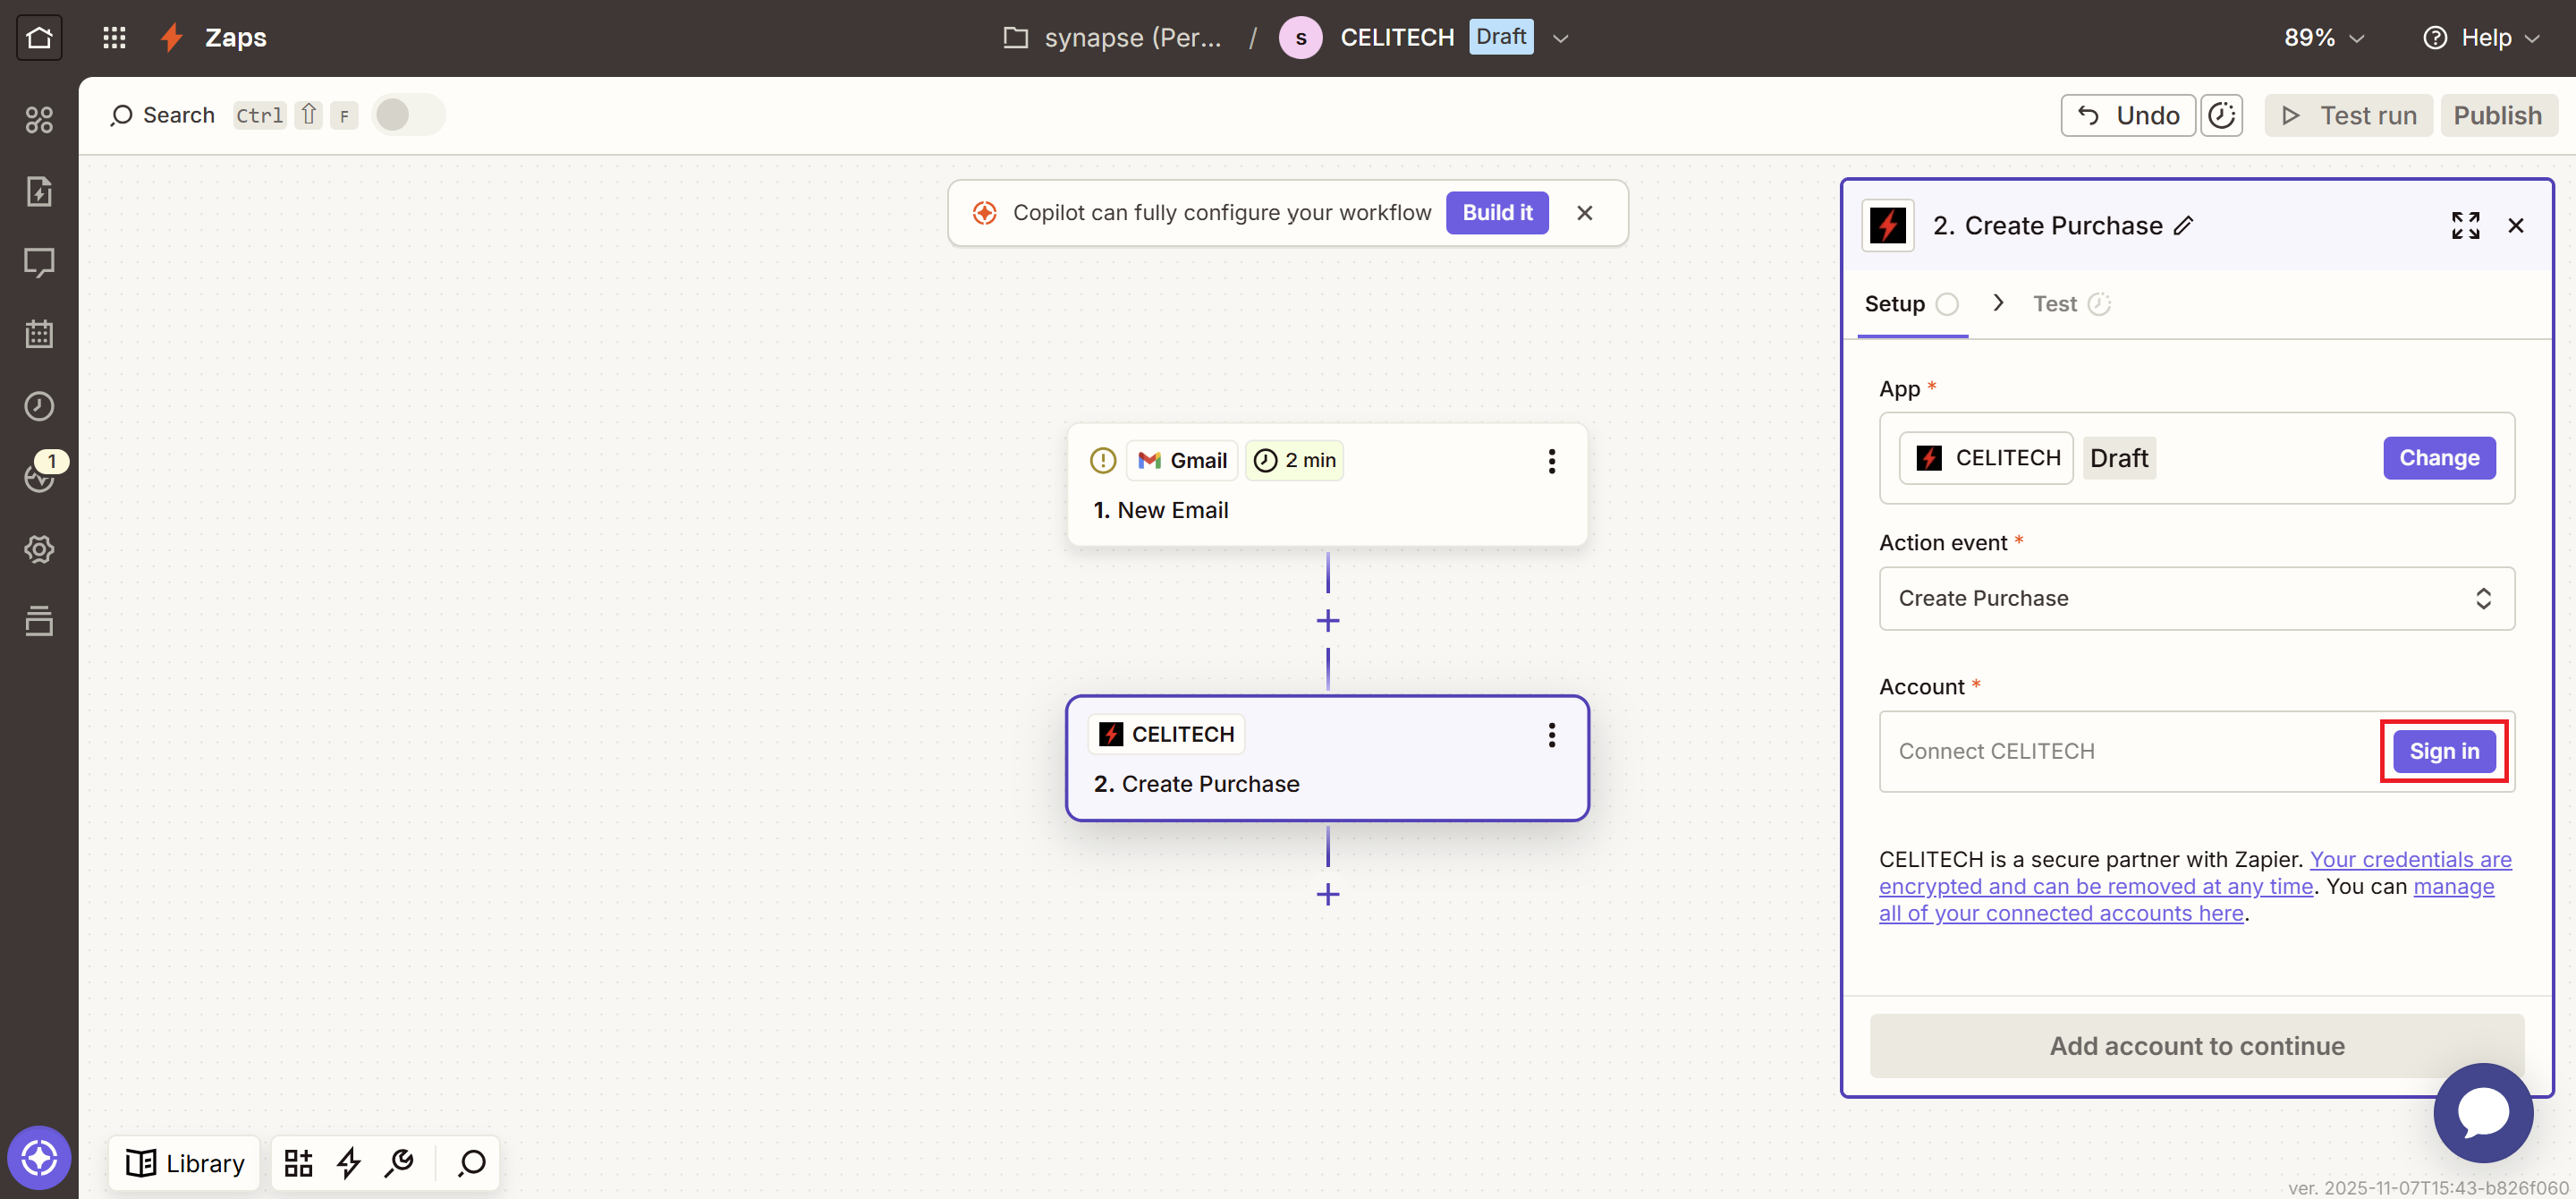
Authentication
Step 6: Sign In to CELITECH
Click Sign in to authenticate CELITECH.
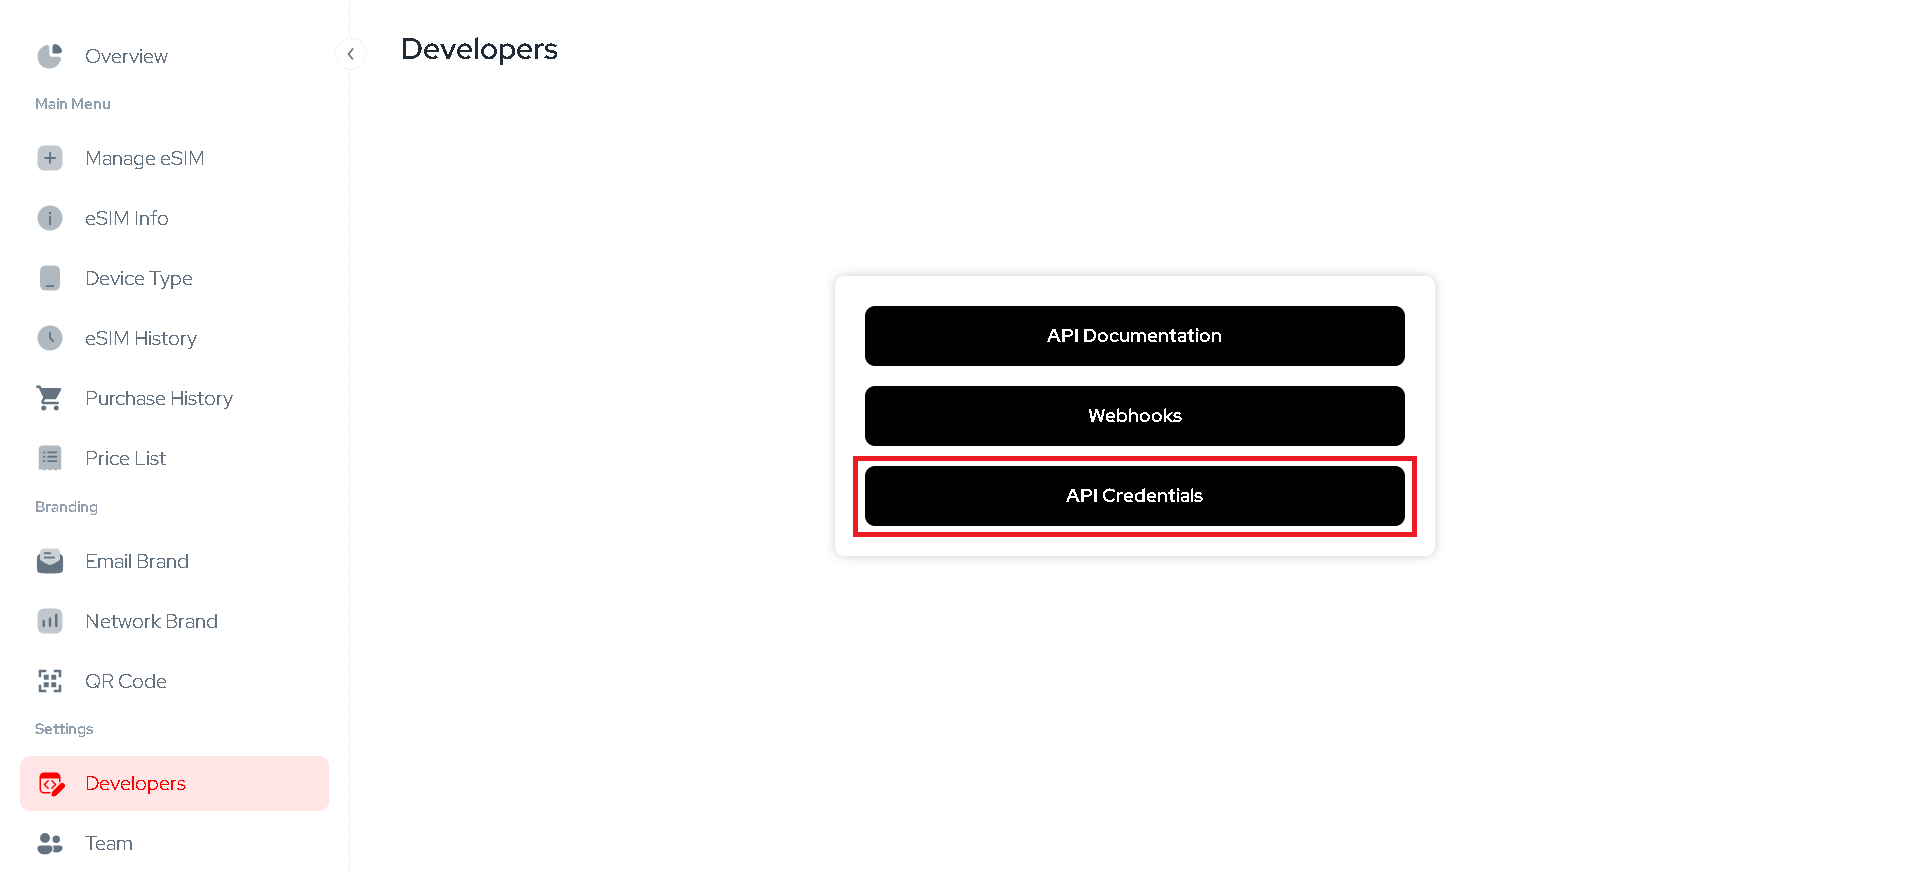
Step 7: Enter Your API Credentials
You will be prompted to enter your API credentials:
- Client ID – A unique identifier for your application. You can find this in your CELITECH Dashboard under Developers > API Credentials.
- Client Secret – A confidential key used to authenticate your application. Keep this secret and never expose it publicly.

Step 8: Retrieve Your API Credentials from Dashboard
- Visit the CELITECH dashboard at https://dashboard.celitech.com
- Navigate to the Developers tab
- Click on API Credentials to reveal your credentials
Step 9: Complete Authentication
- Go back to the Zapier Auth page
- Enter your Client ID and Client Secret
- Click Yes, Continue to CELITECH
Once authenticated, you will be redirected back to your Zap and the authentication step will be complete. Click Continue to proceed to configuring the action.
Configure Your Action
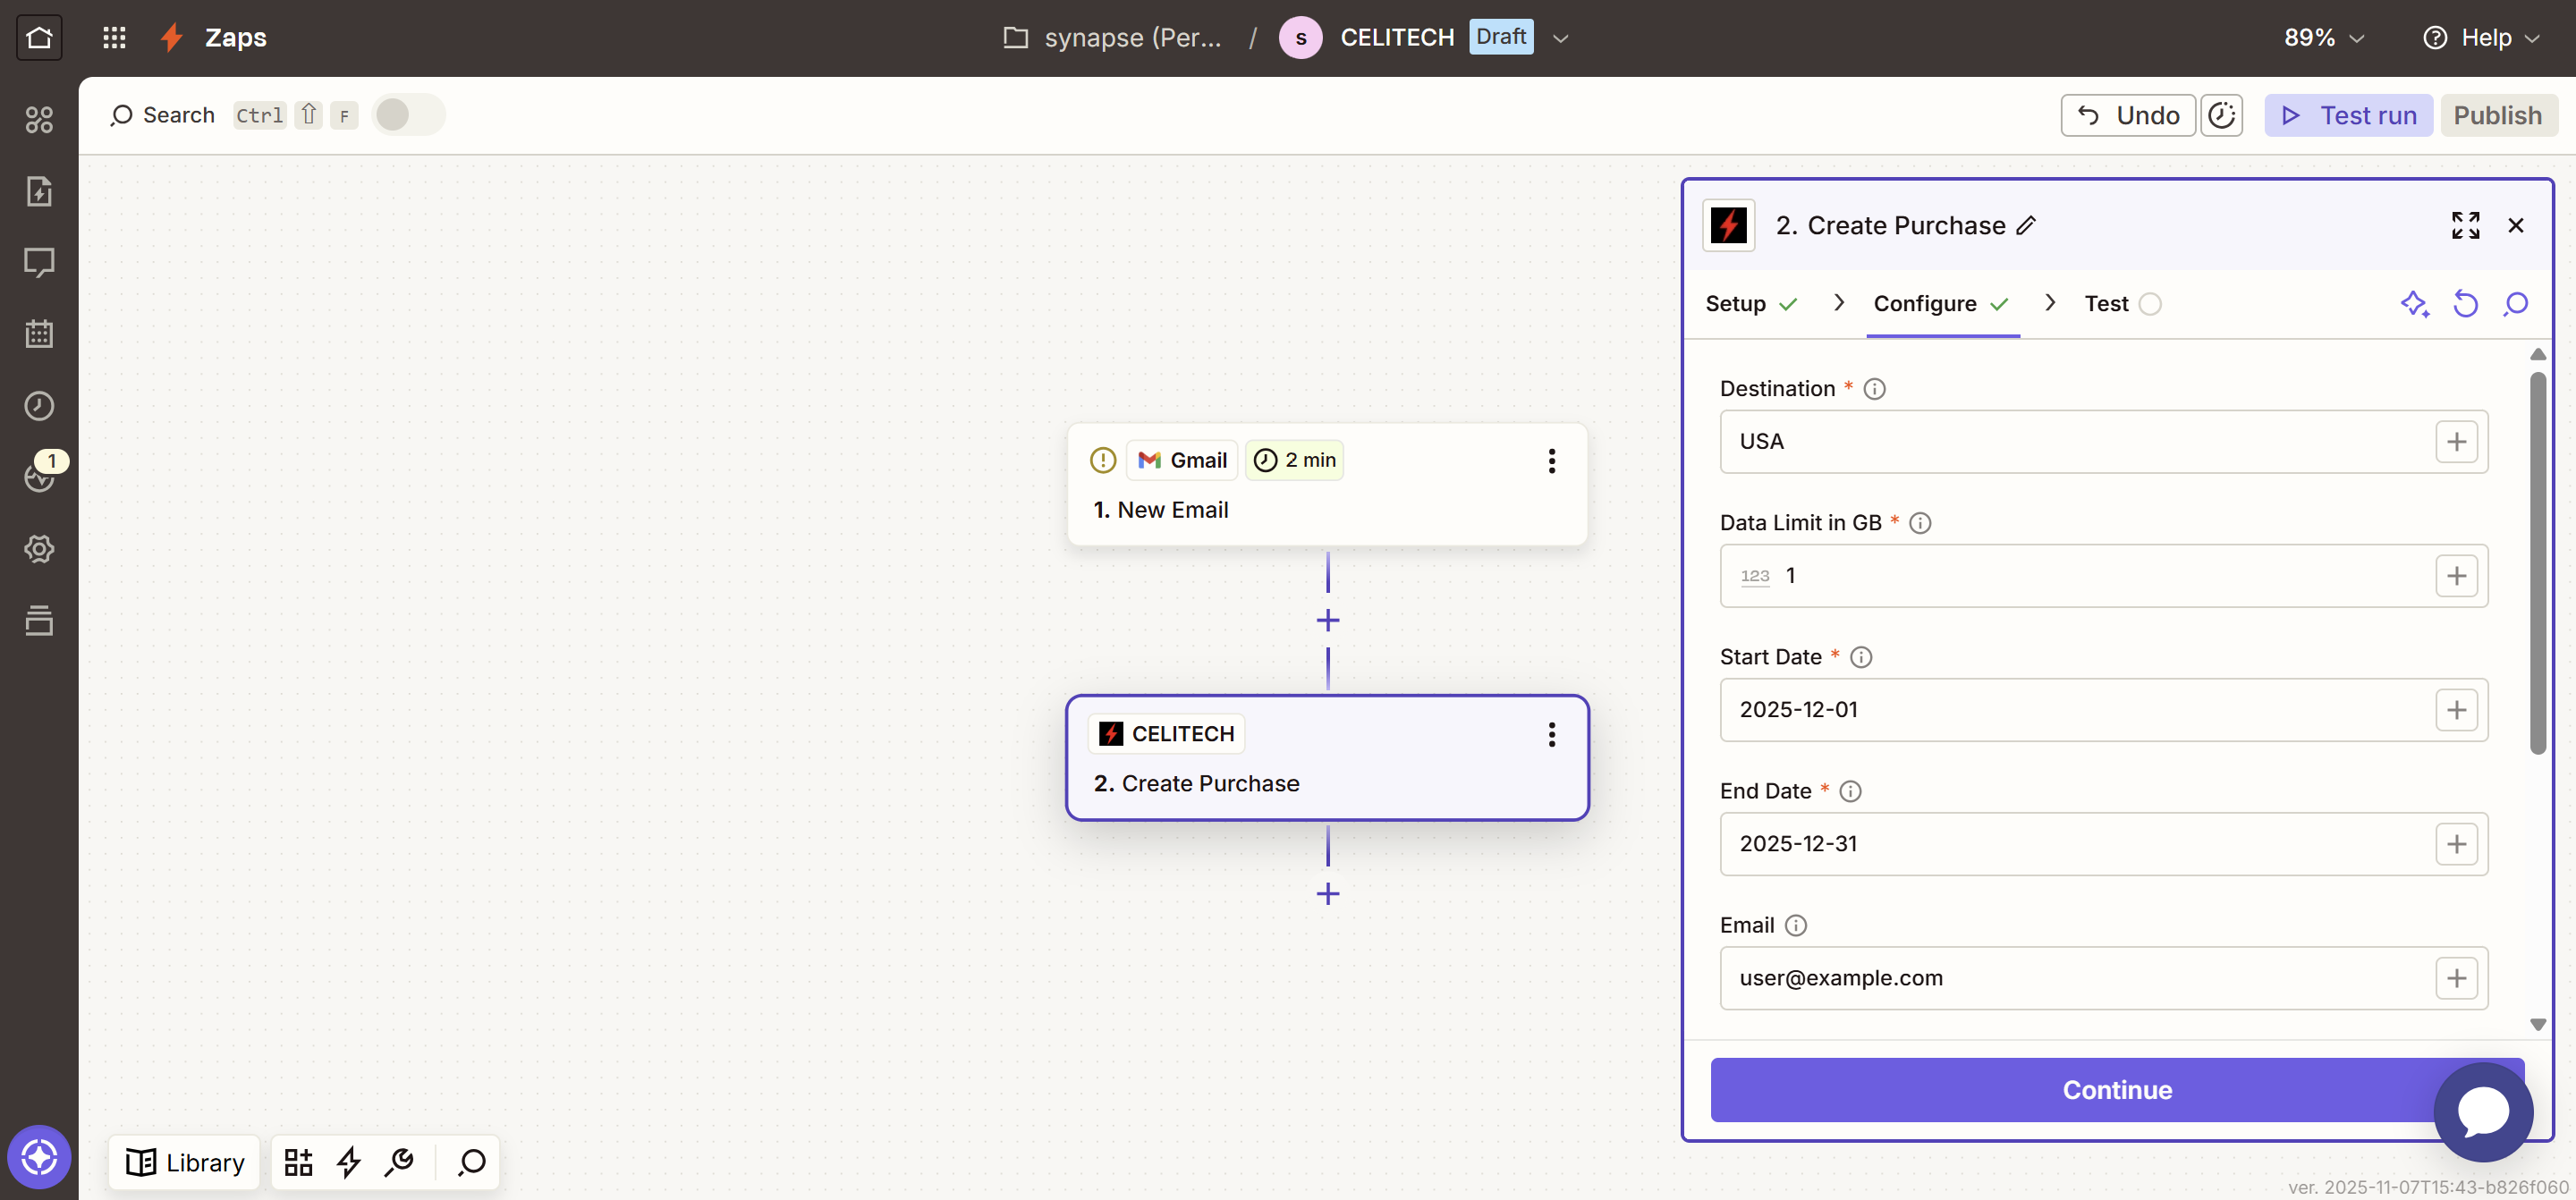
Step 10: Set Up Create Purchase Parameters
Pass in the required parameters for the "Create Purchase" event:
- Destination – Country or region ISO code (e.g. USA)
- Start Date – When the eSIM should become active
- End Date – When the eSIM should expire
- Data Limit in GB – Amount of data included
- Email (optional) – Recipient email address
Tip: These parameters can be read dynamically from the trigger before the CELITECH action.
Test Your Zap
Once configured, test your Zap to ensure it's working correctly. Zapier will guide you through the testing process.